Whether you live by the coast or hundreds of miles inland, going to the beach is always a fun occasion. And that makes it a great topic for English classes!
It doesn’t matter if your students (or you) have never been to the beach – you can bring that seaside experience to the classroom with the five activities in this article.
1. Packed Pictures
You can use packed pictures for teaching lots of different things, but it’s ideal for the beach.
What you need is an image like one of those crazy novelty jigsaws or pictures from Where’s Wally (Waldo for the Americans). There’s loads going on and plenty of fun things to discover.
Do a Google Image search for “beach novelty jigsaw” or “I Love Summer jigsaw” and you’ll get some suitable pictures. Print them off or project them on a screen for everyone to see.
Then you can do loads of things with them – get students to say what they see (and learn new vocab) or play games:
- Find three red things
- Find something that shouldn’t be at the beach
- Get a student to find something hard to find – everyone else has to look for it.
With so many things to look at, there are plenty of possibilities!
2. Beach Bundle!
Beach Bundle! is a game I invented to practise negotiation skills and get some exciting speaking going.
It’s ideal for intermediate students and confident beginners. You need to download, print and cut out the cards for it – you can find them right here:
I recommend using thick paper or card so they’re not see through and are easier to hold in the hand.
To learn how to play, you can watch this video from my YouTube channel, or read the rules below.
- Divide the class into groups. Any group size up to 8 or 9 is fine. If you have a one-to-one class, you can play either game as a 2 (you and your student).
- Print the cards at the end of this document. I recommend printing them on card or very thick paper so they aren’t see-through. You’ll need one set of the cards for each group of 2-3 players and two sets for each group of 4-7 students and three sets for a group of 8+ There should be one or two more copies of each card than the number of students.
- Rules of Play
1. The aim is to get a hand of all 8 of the beach items first.
2. Shuffle the deck and deal 6 cards face down to all players. They can now look at their cards without showing them to others. Leave the remaining cards face down in the middle.
3. Set a timer for 2 minutes and begin trades. This is a free-for-all. Players have to talk to each other and trade items in their hands to try to get cards they don’t already have.
4. When 2 minutes are up (or everyone decides to finish early), stop the trades. Deal two cards from the deck to each player.
5. Set the timer for 2 minutes again and start another round of trading.
6. When that trading round comes to an end, deal out remaining cards equally (discard any leftovers).
7. Keep going like this until one player manages to get all 8 beach items in their hand. They shout “I’m going to the beach!” That player wins! - TIPS
– For a calmer game, remove the time limits, or extend them to 3 or 4 minutes.
– For a quick game, start by dealing 8 cards to everyone (beware that a player may get very lucky and start with all 8 unique items)
– Go over some good negotiating phrases beforehand and have them on display.
– It can get overwhelming for some students. In this case, slow the game down and add some structure. To do this, partner players up for 30 seconds of each round in which they can only negotiate with their partner.
3. Make sand sculptures
If you have younger students, you can bring one of the best things about the beach to the classroom – making things out of sand!
Obviously, this is going to need a fair amount of preparation. You’ll need sand for a start. If you’re lucky enough to work at a school with a sandpit, use that.

Alternatively, it’s usually quite easy to get hold of and quite cheap either in a local store or online. Make sure to get Play Sand rather than sand used in building!
Next, I recommend you get a tray for each student. They can keep the sand inside the tray and it won’t all spill out. You won’t be able to avoid mess, though, so do it outside or somewhere you don’t mind getting messy.
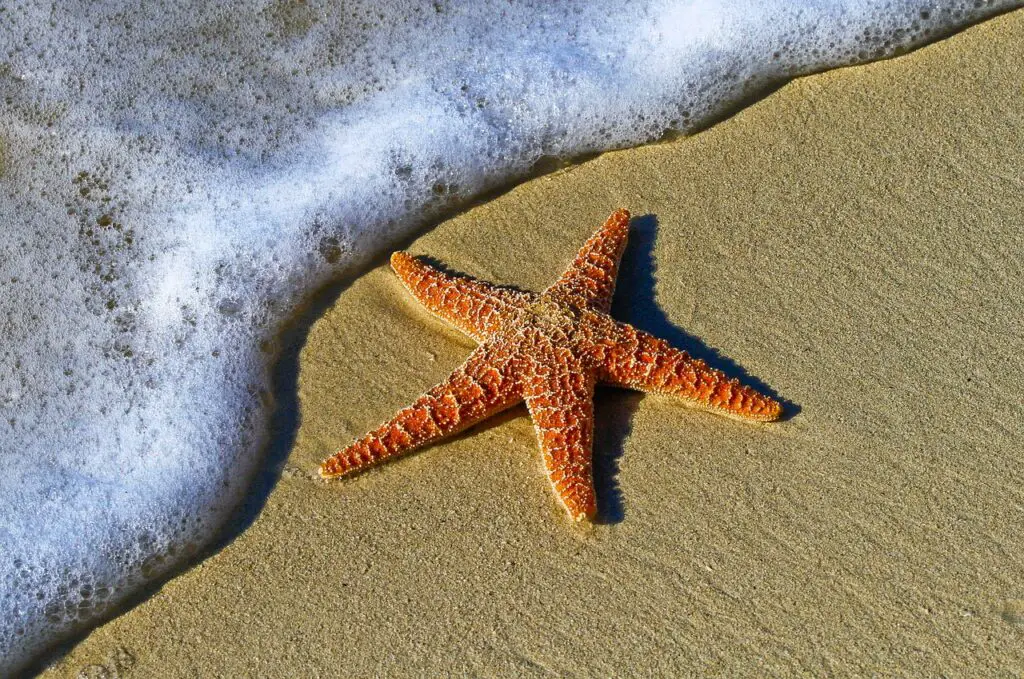
Using the sand and some water for adhesion, you can get students to sculpt all sorts of things. Turtles are easy, so are starfish. Challenge them with more difficult shapes, or get them to come up with their own designs of beach-related things!
And to make sure they’re learning English too, give them instructions to follow, or show them a tutorial video.
4. Role Play
You can never go wrong with role play. Going on holiday to the seaside is a great source of scenarios:
- Buying ice cream
- Booking into a hotel
- Interacting with the animals on the beach
Role play is unscripted and improvised. There are no scripts or pre-planned events – it all happens spontaneously, according to the imagination of your students.

You can use them with pretty much everyone except for very young kids and absolute beginners who either don’t have the maturity or the language to improvise a situation.
I use them all the time, and you can find out why I love them so much in the first video in a whole series on my YouTube channel:
5. Spot the Difference
Everyone knows what Spot the Difference is: two very similar pictures with a few details changed, which you have to find. In English classes, we can turn these into a brilliant speaking activity.
It’s super simple. First, find some pictures. A Google Image search for “spot the difference beach” gets you loads you can use. Find one that looks interesting and challenging for your students.
Then, give one student one of the pictures and another student the other. They’re not allowed to look at the other’s picture. Instead, they take turns asking each other questions to find out what is different.
For example: What colour is the flag on the sandcastle? If they’re different colours, then they can circle the flag to indicate that they’ve found a difference.
They keep going like this until they’ve found all of them.
You can do this with an individual student (you have one of the pictures) or a large class. And it’s easy to do online, too. You just send them one of the two images.
Conclusion
I hope some of these activities give you inspiration and practical resources to have fun teaching students about the beach.
But don’t stop there. You can use these as a base to innovate your own ideas and even come up with new ones. As I always say, adapt and adjust everything to suit the needs of your students!