The weather is all around us at all times. That’s why it’s one of the first things young and beginner EFL/ESL students learn.
But I’ve found teaching the weather can easily end up being a series of repetitive vocab drills, worksheets and textbook exercises. It’s all a bit dry (excuse the pun). There’s nothing wrong with those activities, but I think we, as EFL/ESL teachers, can do better.
I’m always looking for a way to make my students feel connected to what they’re learning about. How does it affect them? Can they see it? Can they touch it? Can they go out into the world and experience it?

The five activities on this list are aimed at enhancing and deepening your young/beginner students’ relationship with the weather around them and, of course, the English language used to talk about it.
They’re not meant to replace worksheets and vocab drills. Instead, they’re for teachers who want to go the extra mile.
By the way, if you’re interested in learning about how to maximise your students’ ability to remember vocabulary, make sure to check out my Best Method to Improve EFL/ESL Students’ Vocabulary.
Let’s get to it!
- Set up a weather station
- Keep a weather diary
- Check weather around the world
- Make a weather forecast video
- Role play weather scenarios
1. Set up a weather station
Probably the best way of getting your students engaged with the weather (and learning weather-related English) is to have them measure and record it.

There are a number of ways you can do this:
- Get an outdoor thermometer to check the temperature.
- Make a rain gauge.
- Set up a wind vane to see wind direction.
- Build an anemometer to measure wind speed.
- Get a cloud cover chart to record how clear the sky is.
With very young kids, it might be best to stick with a thermometer and rain gauge, but if you think your students are ready, you could turn it into a science project.
I’d recommend buying an outdoor thermometer (you can get them for as little as $10). You can make the other things yourself with a little know-how.
Head to the Milton Keynes Parks Trust website to learn how to make the equipment and even download a data recording sheet.
If you’re going to keep the devices up for a few weeks or months, I’d recommend having two or three of each piece of equipment, perhaps in different locations, because one might get damaged or blown away. Why not get your students to make their own equipment and spread it around the school?
Once you’re set up, consider how you can use your creations in the long term, like keeping a weather diary.
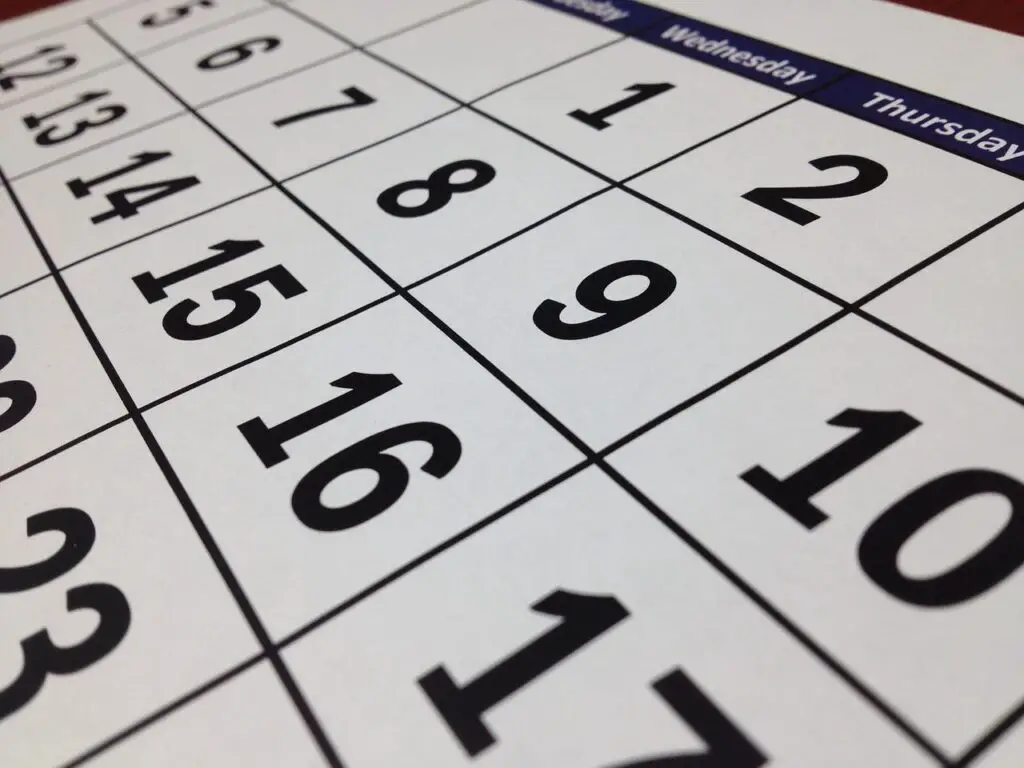
2. Keep a weather diary
Recording the weather each day gets your students invested in learning the associated English words and phrases. It’s continuous – you don’t learn it one week, then forget about it the next.
Whether or not you set up a weather station (like in the first activity on the list), you can keep a written record at the start of each of your lessons.
It doesn’t matter if it’s every day or once a week. The point is, you’re showing your students that what they’re learning is important and relevant. Plus, kids love going back to compare today with the weather months and months ago.
You can adjust this activity to the needs of your class. If it’s a very young group, or a class who are just starting to learn English, keep it simple. Just write down if it’s sunny/rainy/windy, etc. each day.
With more confident students, keep records of the temperature, rainfall, cloud cover and wind direction. Some of the language needed to do this is never taught in textbooks or worksheets – things like “there was 6mm of rainfall” or “the wind was blowing in a north-westerly direction”.
Here are some tips to make this activity run smoothly:
- Avoid taking up too much class time every dat, especially if you have a full weather station.
- Create a rota of students to record results (maybe it’s their job during break time?)
- If you’re using a weather station, make sure it’s in a safe location and won’t get blown away.
- Make a big poster on the wall for recording the results.
- If you teach in a country which has long dry seasons, consider doing this activity when the weather is a little more changeable, so the results aren’t the same every day.
When you’ve collected data about the local weather, you can try activity 3 – checking weather around the world – and compare it with what you found.
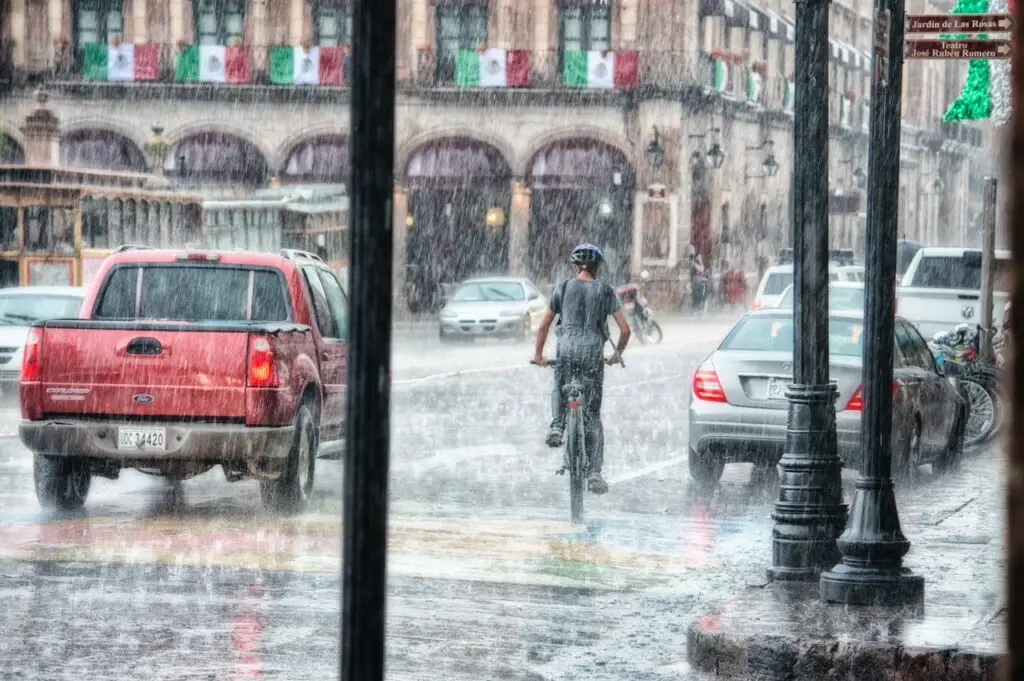
3. Check weather around the world
Students love learning about other places. More than that, they love comparing other places to their home country.
The internet allows us to have great fun checking out the weather in other parts of the world.
What’s it like in Rio de Janeiro right now? And Shanghai? Is it sunny in Lagos at the moment?
This is also a great opportunity to practice basic comparatives like “it’s hotter in Tokyo than Montreal right now” or “the wind is stronger in London than Bangkok”.
You can take a scattergun approach and have a look at the weather in all parts of the world (exposing your students to new places), or you can pick a few places that you compare regularly.
For this second option, choose 2-3 places around the world, get the weather forecast open for each and save the website as a bookmark. Then you can easily open the bookmark at a later time to see it instantly.
If you’re recording the local weather in a diary, you can rapidly compare your findings with the weather in those far-flung places and rejoice when the weather where you live is better than everywhere else.
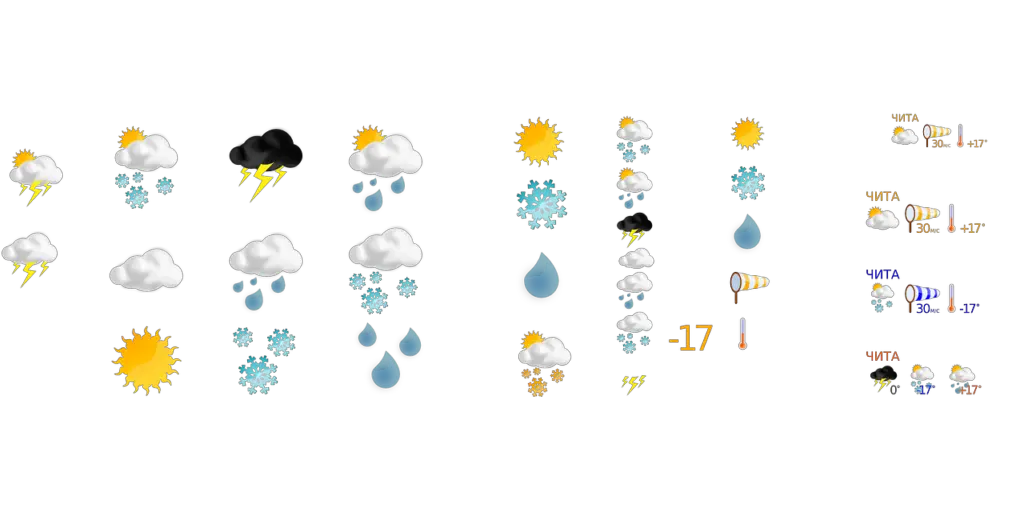
4. Record weather forecast videos
So far, activities have been about observing and recording the weather. That’s all very useful, but you can also practice the active skills of writing and speaking.
Getting students to write a short script and present the forecast is quite demanding. But it’s definitely possible. You can encourage them to talk about the weather in different regions, the highest and lowest temperatures, wind direction and types of rainfall (heavy rain, showers, etc.)
Tie it in with practicing the future tense, and you’re on to a winner.
The trickiest part is finding good weather maps. You can search Google to look for ones that are simple and clear, but if you’ve got a big class, you may struggle to find a different map for each student.
A good option is to make your own. You could create a big poster and cut out weather symbols which you can stick on with blu tack and move around as you like. Or, each student can make their own map smaller map in the same way.
Think about what you need to include on the map. With more advanced students, you might want to practice temperatures in different regions, as well as wind speed and direction. If that’s too much, just stick to the classic weather symbols of sun, cloud, rain, etc.
If you have an overhead projector or a big screen on which you can show a weather map, it’s easy to set up this activity. Just show a weather map on the board/screen and have students present in real time while you record.
However, if you don’t have that equipment available, you can still record weather forecasts on your phone/tablet. Here are some quick instructions
1. Get a digital copy of your weather map (either from Google Images or a photo of the map you made in class). Ideally create an image with some empty space on one side where the student can stand when presenting.
2. Download the VeeScope Live Green Screen App (iOS only, my favourite) or Chromavid (iOS and Android) app.
3. In the app, set the background image to be your weather map.
4. Find a wall/board which is flat and only one colour (it doesn’t matter what the colour is). Use the app to remove that colour so the background becomes transparent and you see the weather map.
5. Record your students in front of the now invisible wall.
WARNING: When teaching kids, check with their parents that it’s okay to record videos of them, as some may not be comfortable with you doing so.
This activity will probably take a few classes. Spend one session getting the weather maps ready and writing a script. The next class can be practicing giving the forecast, and in the third, record the videos.
Keep the videos short. One or two minutes is plenty, even for students who are confident at speaking.
5. Role play weather scenarios
Role play is my number one favourite activity. It allows creativity, collaboration and high-level language practice.
Having said that, if you’re teaching a very young class, or a group of absolute beginners, you’ll struggle to get a role play to work. I’d only recommend it with students aged 8 or over who are capable of putting simple sentences together.
To learn more about why I love role play so much, read my article Why All EFL/ESL Teachers Should Use Role Play Activities.
In short, role-play activities are the improvised enactment of a scenario. There are no scripts. Students just act out what they would say and do in a make-believe situation. Like kids do naturally in the playground.
It’s ideal in pairs or groups of three. Things can get out of hand if you’re not careful, so read my guide How to Teach Children EFL/ESL With Role Play: Best tips if you’re not familiar with this kind of activity.
The weather is a great theme for role-play scenarios because there are so many relatable situations you can use. Here are two of my favourites which I’ve used in my own classes.
In pairs, just assign the roles A and B. For groups of three, add in role C as a supplementary character.
The party is ruined!
| STUDENT | ROLE |
|---|---|
| A | You’re having a party in your garden. It starts raining! You want to get umbrellas and continue the party. |
| B | You’re having a party in your garden. It starts raining! You want to stop the party and do something else. |
| C (optional) | You’re at the party with your friends. It starts raining! You don’t have an umbrella or a coat. |
Hurricane!
This one is a little more advanced, so avoid using it with absolute beginners.
For all students: A hurricane has hit your town!
| STUDENT | ROLE |
|---|---|
| A | You have to get across town to your aunt’s house, where it’s safe from the hurricane. You don’t have a car or any other transport. You are with your friend, student B. |
| B | You don’t have anywhere safe to stay in town, but you know your car is parked by the supermarket. You are with your friend, student A. |
| C (optional) | You’re alone in the hurricane with nowhere to go. You find two people (students A and B) and ask them for help. |
I highly recommend modifying these to suit your needs. Or, even better, come up with your own to match what you’re teaching in class.
Get your class on cloud nine!
Learning about the weather can be a lot more fun than filling in worksheets and repeating vocab.

Of course, you know your class better than anyone. Some of the activities here might be too much for your group, or not challenging enough. Pick and choose what you want. And feel free to adapt them all to fit what you’re trying to achieve.
I hope at the very least these ideas give you some inspiration for activities which will have your students feeling as right as rain and thinking English is a breeze.