Games are a huge part of teaching English. This is especially true for beginners, either children in their early stages of English education, or older students picking up the language for the first time.
Some established games and activities, however, rely on students having a wide vocabulary, or the ability to string sentences together. Beginners don’t have those tools. So here are 9 unique and entertaining games and activities perfectly suited for beginners, each with useful tips.
Some of these games and activities have been created by teachers across the world, while others are my own inventions. They are all suitable for small groups, big classes, and, in most cases, one-to-one tutoring.
Contents
- What’s Changed?
- Alphabet Race
- Packed Pictures
- Swat the Word
- Chain Comparisons
- Say and Draw
- Higher or Lower
- 21 (or 51 or 210 etc.)
- Monster Factory
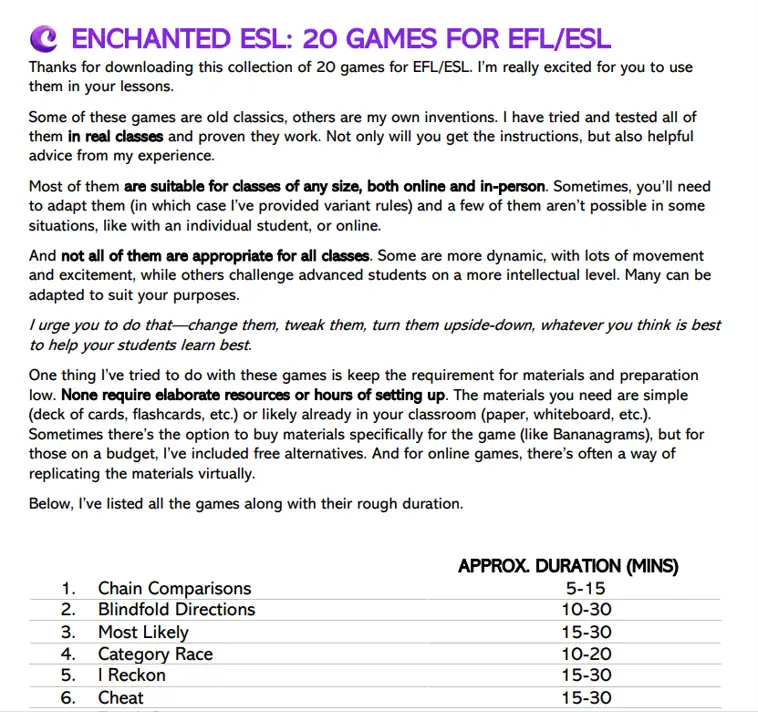
Finding suitable games for beginners can be challenging. So beyond this list of 9, I’ve got a whole bunch more. 20, in fact. In my free ebook of 20 EFL/ESL games you have plenty to choose from, with guidance and tips for encouraging beginners and less confident students.
To get your hands on the ebook, sign up to the Enchanted ESL Newsletter. Not only will you get the ebook, but access to a treasure trove of lesson plans, role-play scenarios and game materials.
Enchanted ESL Resource Trove
- Lesson plans
- Role-play scenarios
- Printable game materials
- 20 ESL Games eBook
- Monthly newsletters with more free stuff!
A quick word on energy and vocabulary
Each of these games and activities requires a certain amount of energy. Some are exciting, physical and fast-paced, while others are calm and best done sitting at a table. Students have different amounts of energy in class. Each of the 9 games/activities presented has an associated energy level to help you choose the right one to fit your group best.

Vocabulary is crucial at beginner stages. Many of these games aim to consolidate or elicit vocabulary in a natural, relevant way. To ensure your students learn words quickly, read my article on the best method to improve vocabulary.
Now let’s get to the list!
1. What’s Changed?
Everyone knows how to play spot the difference. What’s Changed is a much more engaging alternative, in which things get mixed up in the classroom.
Estimated time: 5 minutes per round
Energy level: 5/5
Materials: None
How to play
One student (identifier) steps outside the room, while the others have one minute to change things inside (move tables, rearrange the pens, turn a chair upside-down, etc.). When the identifier returns to the classroom, they have to say what has changed.
For complete beginners, identifying can be as simple as pointing and saying the name of what has changed, e.g. “tables”. For slightly more confident groups, you could encourage them to say “tables moved”, or even “they moved the tables”.
TIPS:
- Safety and respect for people’s belongings is important – establish what is acceptable before the game and make clear everything has to go back exactly as it was at the start.
- Don’t change too much. Aim for about ten things per identifier. With a small group, each student in the classroom may change 2-3 things, while in a class of 30, have 3 students as identifiers, while the rest change one thing each.
- Make sure the identifier actually says something instead of just pointing.
- Write down what has changed and gather any new vocabulary.
- If the identifiers take too long, set a time limit.
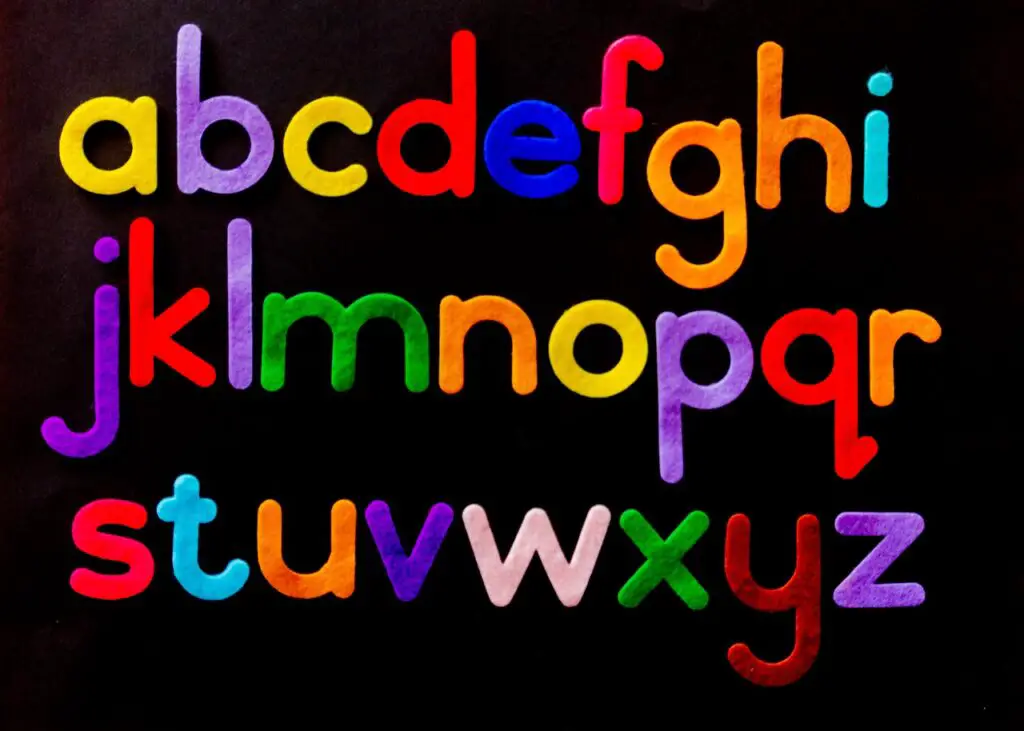
2. Alphabet Race
This game works best in small groups, but can apply to whole classrooms or individuals. The idea is to get to the end of the alphabet as quickly as possible without making a mistake.
Estimated time: 2 minutes (although you can repeat it several times)
Energy level: 4/5
Materials: Stopwatch
How to play
Organise the students into a circle or line, so there is a clear order. Start the stopwatch. When you do, the first student in the order says “A”, the next “B”, then “C” etc. This continues until someone makes a mistake (start again), or you get to the end – stop the stopwatch.
This game only works once you’ve practiced the alphabet a little, otherwise you can’t get very far along the order before someone makes a mistake.
General TIPS:
- Join in yourself, acting as a model for some of the trickier letters.
- When someone makes a mistake, instead of starting from the beginning of the order, start with the student after the one who got it wrong.
- Make a note of your times and letters reached, so the group can see their progress.
- Keep the pressure low – don’t blame or criticise anyone for making a mistake, instead encourage them. Get the others students to follow your lead.
- If one student consistently struggles, put them somewhere in the order where they can get some easier letters.
- A variation is to say a word beginning with the letter instead of the letter itself.
- Take it to the next level of difficulty by going through the alphabet backwards.
Big class TIPS:
- If your class lines up to go to break/lunch, take a moment to do an alphabet race every day.
- If students get wise and start looking for positions in the order with easy letters, keep things varied – start from someone in the middle, or go in reverse order.
- If you have over 26 children, why not go around the alphabet twice?
3. Packed Pictures
This is an activity rather than a game, although there are ways to add game elements to it. It involves using a picture packed full of activity. The kind of thing you see in novelty jigsaws or those books in which you have to find a character, like Where’s Wally/Waldo.
Estimated time: 15-30 minutes
Energy level: 2/5
Materials: Printed picture with lots of things happening, A4 dry-erase pockets (optional).
Not only are these pictures great fun to look at, but they provide stimulus for new vocabulary. Some of this can be targeted – you get the students to find specific things, or people doing certain actions – alternatively, it can be more student-led with them encouraged to find things that most interest them.
Here are some fun mini-games you can do:
- How many X can you find?
- Tell me five red things in the picture.
- Each student says something the others have to find (the harder to find, the better).
These pictures work really well if you have A4 dry-erase pockets. The students can draw and write all over the picture again and again, and you can re-use the pictures in later classes.
Pictures can be themed around the topic you’re studying, or a certain time of the year, like Halloween. As I don’t own any of the pictures, I can’t post them here, but searching Google Images will bring up plenty of options. I prefer the ones with a mix of both objects and people.
4. Swat the Word
An exciting, competitive listening and vocabulary game. Students have to react quickly to hit the correct word with their “fly swat”.
Estimated time: 15-20 minutes
Energy level: 3/5
Materials: Fly swats OR rolled up sheets of paper, whiteboard/blackboard
If you have some fly swats, or can get them easily, students love it. If not, take some scrap paper, roll it vertically and squeeze one end to make a paper stick – easy to make and less likely to result in students “accidentally” swatting others in the class.
How to play
Write at least 20 words on the board. Two students stand by the board. The teacher says a description of one of the words, and the students have to “swat” the word first. If they swat the correct word, they get a point. If they swat the wrong word, they aren’t allowed to try again, and the other student can take their time. Pushing, blocking, or any other physical contact is illegal.
The competitive aspect of this game can cause some issues, depending on your class. It can get a little too tense for some. However, if everyone knows the rules and the stakes aren’t too high, it’s great fun.
TIPS:
- In a large class, divide the students into two equal teams and have representatives from each team (this can get rowdy)
- Get the students to brainstorm the vocabulary first.
- Don’t remove the vocabulary even if someone has already swatted it.
- If you’re in a small class without a whiteboard, use a piece of paper as the board, and the end of a pen as the “swatter” – you could call it Word Jab instead of Word Swat.
- Word your descriptions carefully. Ideally, you’ll have related vocabulary in which one part of the description applies to many e.g. “It’s an animal with four legs…”, “it lives in the jungle”, “and it’s orange and black”. Each part of the description gives an extra clue and narrows it down. This means the students have to listen well.
It’s interesting to see how your students approach the game. Some are so eager to swat a word, they hardly listen to the description and just swat the first thing they see (usually wrong). Others wait for their opponent to mess up first. And some are so afraid of getting it wrong, they never swat anything!
Of course, the games on this list are just the start. I have many more to share with you in my eBook of 20 ESL Games. Many of them are ideal for beginners, or can be easily adapted. You can get it all for free by signing up to the Monthly Newsletter!
20 ESL Games by Enchanted ESL
- Detailed instructions & advice
- All ability levels
- In-person and online
- Individuals, small groups and large classes
5. Chain Comparisons
This game practices vocabulary and introduces the idea of comparatives. This one is great for small groups and big classes, but doesn’t work too well with one-to-one classes.
Estimated time: 3 minutes (can be repeated)
Energy level: 4/5
Materials: Timer
How to play
Organise the class into a circle or line to show a clear order. Establish how things will be compared e.g. size: bigger/smaller. Start a timer for 2 minutes. Teacher starts with a word, for example: “car”. The first student in the order has to say something bigger than a car. They might say, “house”. The following student now has to say something smaller than a house, e.g. “cat”. Then the next says something bigger, then smaller, and so on.
Repetition is not allowed. Count how many correct words they come up with before the 2 minute timer ends – that’s the class score.
There’s an element of competition in this game, but it’s the whole class working together. It can get quite stressful with the time pressure, so gauge your class and remove that element if it’s causing issues.
Other things you can compare with are cost: cheaper/more expensive; speed: slower/faster; age: younger/older and many more.
TIPS:
- Make a note of the score each time, and try to improve when you repeat the game (I found my students love trying to get a new high score).
- Vary the time limit depending on the class level. If they know very little vocab, reduce the timer to one minute, or 90 seconds. If you have a big class, extend the time limit so each student gets multiple goes.
- Encourage the students to think of a few answers before their turn, so they’re ready to say something. If they don’t, the pressure can make their minds go blank.
- If students shout out answers when it’s not their turn, you can deal with it by stopping the timer, deducting points from the class total, or removing them from the game. Alternatively, you might want to encourage them to help each other (as long as they allow the person whose turn it is to think first).
- Join in the order yourself to introduce some new vocabulary on your turn.
6. Say and Draw
Need a few minutes to calm down? Say and Draw is great for getting students to relax, practice their listening skills as well as speaking. There’s also an eyes-closed variation which is hilarious.
Estimated time: 2 minutes per turn (do as many turns as you like)
Energy level: 1/5
Materials: Drawing equipment for each student (A4 dry-erase pockets are ideal)
This activity is remarkably simple, but gives an opportunity for practicing vocabulary, prepositions, and even some grammar forms. You can find out how to play in this video! (While you’re there, subscribe for many more brilliant game ideas).
One person describes what the others should draw. It’s best to start with the teacher describing, to indicate how fast to speak, and the kind of language they can use. For example:
First of all, draw a beach with the sea next to it. PAUSE. In the middle of the beach, there’s a palm tree with three coconuts. PAUSE. Under the palm tree, draw three baby turtles and their mum. PAUSE. It’s sunny, with two small clouds in the sky.
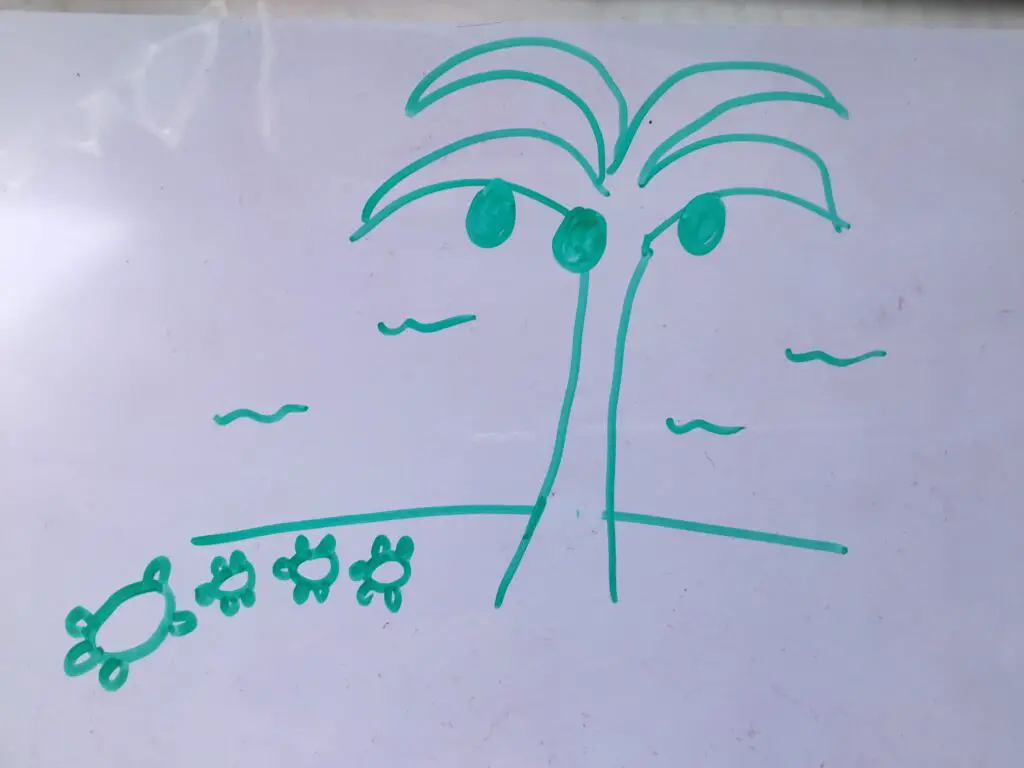
The students don’t need to understand everything you’ve said. In fact, it’s a good way to expose them to some more natural English, as long as you clearly say the specific things they need to draw.
When you’ve given them an example or two, let one of the students have a go at describing. While they’re speaking, gently ask them questions to elicit more details, like “where?”, or “how big?”
TIPS:
- It’s not an art competition – students should draw as quickly as possible to keep up with the person talking.
- Watch them draw and modulate the speed of your description to match – they should be in a slight rush, but not overwhelmed.
- Let them be creative with descriptions. Turtles on the beach are nice, but hamsters riding unicorn-dragons on the moon will have everyone laughing.
- To increase the fun a step further, have the drawers close their eyes. The descriptions need to be simpler, but the results are often hysterical, especially when they use their English to justify why the dog’s eyes and ears are on its back.
- Conversely, if you want to create a relaxed atmosphere, play some gentle music and slow the pace.
- It might be tempting to let the describer pick which drawing they like best. I avoid this as it turns into a popularity contest. Instead, you could reward students who have drawn the picture most accurately given the instructions.
Either as a fun game sitting down, or a gentle listening exercise, this is a great way to take a break from an exciting lesson, while letting your students express their imaginations.
7. Higher or Lower
Most card games require an intermediate/advanced level of English. Not this one. Higher or Lower is the card game you all know, just with an English focus. It’s possible to play this with a full class with a few modifications, but it works better with smaller groups.
Estimated time: 5 minutes
Energy level: 3/5
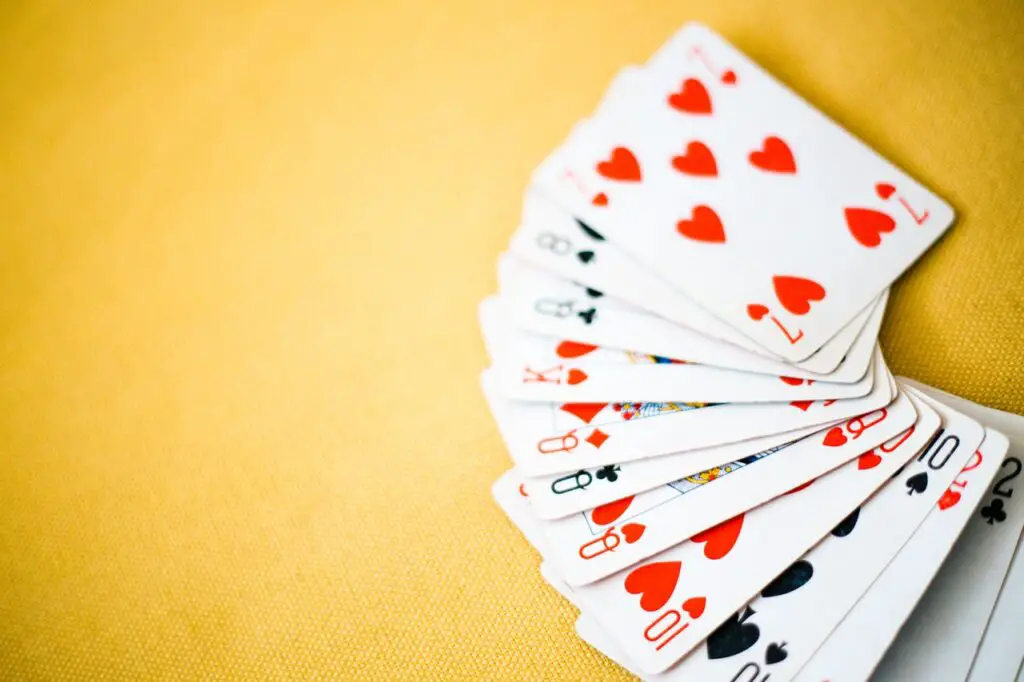
Materials: A deck of standard playing cards
Before you play, make sure your students are familiar with the rankings of a standard deck of playing cards, because they might not know what the Jack, Queen or King represent.
How to play
Shuffle the cards and flip over the top one. The first student (left of the teacher) says if the next card is higher or lower. Turn over the next card to see.
If they’re correct, they continue. If they’re wrong, they keep all the visible cards except the last one flipped over, and the turn moves to the next student who does the same. If the card turned over has the same rank as the one before, continue onto the following card.
When the deck is exhausted, the player with the most cards wins.
To make this an English-focused game rather than just a normal card game, change the words “higher” and “lower” to other comparatives (e.g. cheaper/more expensive), saying big objects or small objects, or separate vocabulary into two categories, for example team sports and individual sports and assign them to “higher” or “lower”.
There are a number of different ways you can adapt this game to your needs, so get creative and know your students. They will love it when they get a long run of correct answers.
TIPS:
- Avoid putting too much emphasis on the winner – it’s a game of luck, and sometimes a student loses through misfortune, not their English skills. Play a few games and their luck will probably balance out.
- In a large class, divide into groups. If you can’t, instead of students playing individually, put them in 2-4 teams and have them line up. The player at the front of the line gives one answer and goes to the back of the line. This way you rotate quickly and there’s more energy and anticipation for those waiting in line.
8. 21 (or 51, or 210, etc.)
This game practices numbers. I used to play it as a drinking game at university and had a great time, although there’s no alcohol involved in this version. Even so, the mathematical aspect of the game might make it unsuitable for very young children.
Estimated time: 5 minutes
Energy level: 3/5
Materials: None
21 is the standard version of the game, for practicing numbers between 1 and 21, but if your students are beyond that point, you can change the numbers to range from 30 to 51, or going up in tens from 0 to 210. Maybe you’re learning thousands, go from 50,000 to 71,000. It doesn’t really matter which numbers you use, as long as there are 21 numbers in play.
How to play
Players make a circle. The first player begins at 1 and play proceeds in a clockwise direction. Each player can say one, two, or three numbers.
If they say one number (e.g. “one”), the turn passes to the next person. If they say two numbers (“one, two”), the direction of play changes and the turn passes to the next person (now in the other direction). If they say three numbers (“one, two, three”), the turn skips the next person and goes to the following.
Play continues until someone is forced to say the number “twenty-one” (or whichever number your game ends at). That player then has to do a “punishment”, e.g. talk for 30 seconds about a topic.
Suggested rules: If someone says two numbers (e.g. “five, six”), the next person can’t say two numbers – they have to say one number or three numbers. The same applies to saying three numbers.
Extra fun rule: Each round, someone (could be the loser of the last round) creates a new rule. For example, instead of saying “five” you have to say a colour. Or, if you’re feeling really confident, the new rule could be to reverse the order of the numbers.
If you’re familiar with this game, the rules here should make sense. If not, and my brief description of the rules isn’t enough, here’s a link to the rules for the drinking game on wikipedia.
TIPS:
- Keep the “punishments” light and related to English. Making them talk about a topic for 30 seconds is a good choice, as long as your students won’t feel uncomfortable doing that. An alternative would be to say all the numbers in the game in reverse order.
- Mistakes during the game, like talking out of turn, or saying an incorrect number, shouldn’t be a problem. If they’re becoming too frequent, think up a minor “punishment”.
- If you’ve got adults who have quick minds, you can get really creative with the added rules. For example, on multiples of four, they have to stand up and do a dance and on multiples of five, they have to shout the number (see if they remember to do both on 20).
- If you’re playing in a full-sized class, you will want to either split them into groups, or extend the range of numbers, so each student gets a couple of turns. I’d suggest the first option. Groups of 5-8 are optimal.
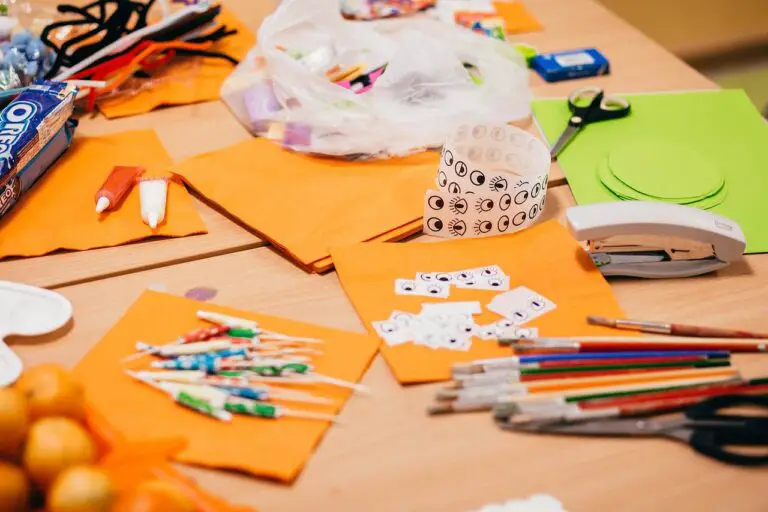
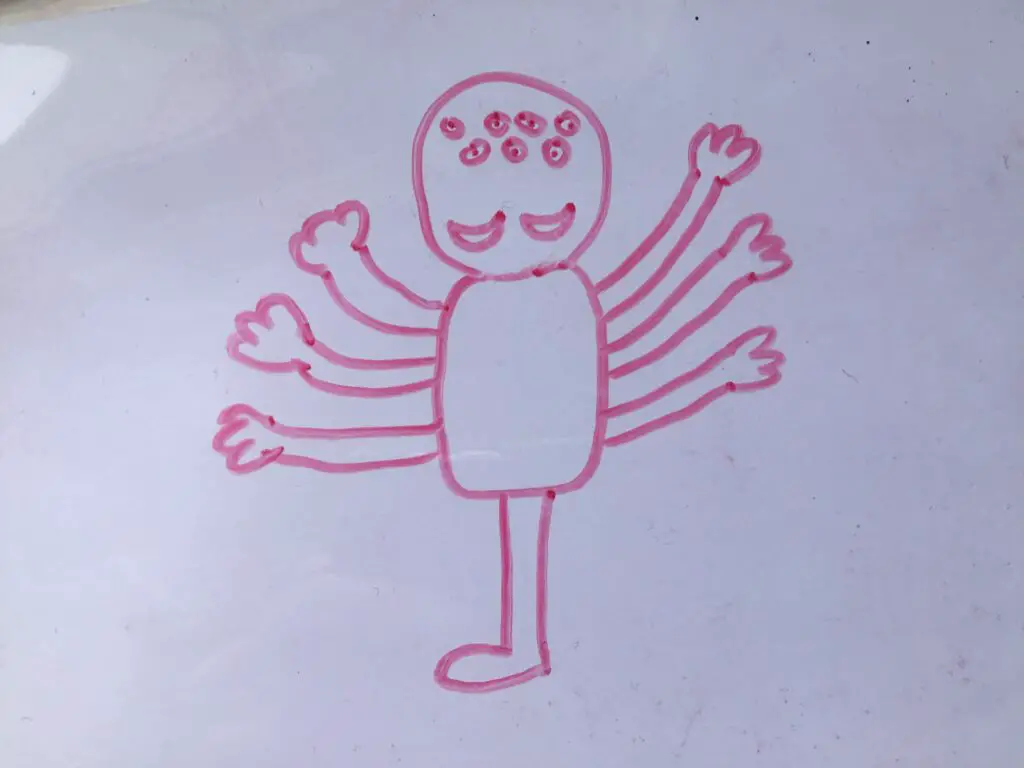
9. Monster Factory
Practice numbers, body parts and more with this crazy activity of building the weirdest monster you’ve ever seen. Children and adults will love it in equal measure.
Estimated time: 5 minutes prep + 5 minutes per turn
Energy level: 2/5
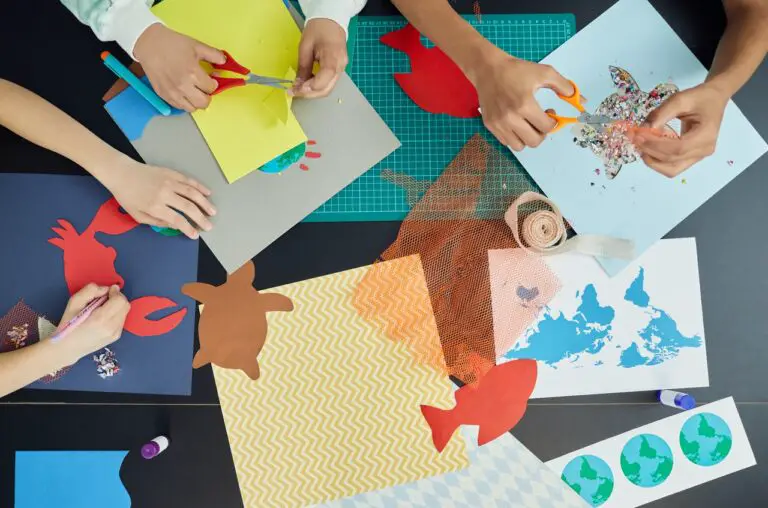
Materials: Drawing materials, paper, scissors
Before the activity, you need to set up two pots/hats/piles with folded pieces of paper inside. In one, the pieces of paper will have a number (1-8) and in the other, they’ll have parts of the body.
It’s a good idea to get your students to help. If they come up with the body parts and even write the words themselves, they’ll get some vocab review and spelling practice.
Ideally, the pieces of paper with the body parts should all have something different on.
How to play
One student is in charge of the pots/hats/piles. They are the Monster Designer who reveals what’s on the pieces of paper during the game. First, the other students should draw a blank torso and head on a piece of paper (or A4 dry-erase pocket) to get them started.
Next, the Monster Designer takes one piece of paper from each pot and reads them out loud. For example, “three” and “nose”. If they have the ability, they can make a full sentence of “draw three noses on your monster”.
The students who are drawing should now draw three noses on their monster. This continues for five repetitions (or more, if you want). At the end, the students will have a ridiculous picture of a monster with all sorts of crazy body parts.
Some drawings I’ve seen from this game are beyond my wildest imagination, and have had the whole class roaring with laughter. This is a great opportunity to get some conversation going as each person talks about their picture.
TIPS:
- If you only have time for one round, have all the students drawing, and alternate who unfolds the pieces of paper
- You can do this with a full class, or in smaller groups. In a full class, consider switching who unfolds the pieces of paper each time so everyone speaks.
- Use A4 dry-erase pockets instead of paper and pens/pencils – it’s easy to rub out mistakes and doesn’t waste paper.
- If your students are struggling, simultaneously draw a monster of your own on the board.
- If your students have gone beyond vocab for parts of the body, you can introduce items of clothing and even have a pot for the monster’s feelings.
The randomness of this game makes it great. I would say it’s not the best game for getting students to speak, but it’s certainly a good listening and vocab exercise, both vital skills for beginners.
Adapt and innovate
When I research games and activities online, I rarely stick with the exact rules shown. It’s important to adapt. What I like about all 9 games here is their flexibility for different group sizes and abilities.
Ultimately, the point of these games is to learn English in a fun way. Whatever it takes to achieve that goal, you need to do it – and that includes changing the way you play, and innovating your own variations.
I hope these games help your students take their English up a level. And if you’re looking for more great games, sign up to the Enchanted ESL Newsletter to get your free copy of the 20 EFL/ESL Games ebook and take advantage of the monthly emails with role-play scenarios, lesson plans and more games!
Enchanted ESL Resource Trove
- Lesson plans
- Role-play scenarios
- Printable game materials
- 20 ESL Games eBook
- Monthly newsletters with more free stuff!
If you’re looking for more games and activities, check out my other lists:
9 EFL/ESL Speaking Games & Activities Perfect for Beginners
9 EFL/ESL Games & Activities for Intermediate Learners
9 EFL/ESL Games and Activities for Advanced Learners
9 High Energy EFL/ESL Games for Boosting Vocabulary
9 Engaging Homework Ideas for EFL/ESL: No worksheets!
9 Exciting EFL/ESL Activities for Writing & Spelling
9 Fun EFL/ESL Games & Ideas With Standard Playing Cards
9 EFL/ESL Games With No Materials or Preparation Needed
9 EFL/ESL 5 Minute Games Every Teacher Needs to Know
9 Superb EFL/ESL Games & Activities Using Just Pen & Paper
9 Classy EFL/ESL Games & Activities for Adults (+ tips)
9 Confidence-Boosting EFL/ESL Speaking Games for All Levels
9 Exciting Flashcard Games for EFL/ESL Classes